CanvasCV: Using buttons
CanvasCV  1.0.0
Using buttons

A Button is one of the most a basic widgets.

It changes its contour when pressed (according to the current canvascv::Theme).

It has text displayed on it and you attach a callback to know when it was pressed.

Resizing the image with buttons

Up to now we've been using WINDOW_AUTOSIZE to avoid stretching the image when creating the window.

Let's write a small program which allows resizing of the image.

This will be done with 2 buttons "+" and "-" to increse and decrease the size of the image respectively.

Here we also make an effort to keep a button location aligned to a changing Canvas size. This won't be needed when you'll learn about the layout managers.

Read the code and see the notes after it:

#include <canvascv/canvas.h>
#include <canvascv/widgets/button.h>
using namespace cv;
using namespace canvascv;
int main(int argc, char **argv)
{
--argc;
++argv;
if (! argc)
{
Canvas::fatal("Must get a path to an image as a parameter" , -1);
}
Mat orig = imread(argv[0]);
if (orig.empty())
{
Canvas::fatal(string("Cannot load image ") + argv[0], -2);
}
Mat image = orig;
namedWindow("Buttons", WINDOW_AUTOSIZE); // disable mouse resize
Canvas c("Buttons", orig.size());
c.enableStatusMsg(); // shows hover over button msgs
c.setMouseCallback();
double ratio = 1.;
auto rightSideButton = Button::create(c, // on the canvas
Point(image.cols - 20, 0), // top-right aligned on the screen
"+", // displayed on button
"increase size", // displayed during mouse hover
[&c, &orig, &image, &ratio](Widget *w) // callback can be a C++11 lambda
{
ratio += 0.05;
cv::resize(orig, image, Size(), ratio, ratio);
c.setImage(image); // change the image during waitKeyEx(0)
w->setLocation(Point(image.cols - 20, 0)); // keep aligned to top right without a layout manager
}
);
Button::create(c, // on the canvas
Point(0, 0), // top-left aligned on the screen
"-", // displayed on button
"decrease size", // displayed during mouse hover
[&c, &orig, &image, &ratio, rightSideButton](Widget*) // callback can be a C++11 lambda
{
ratio -= 0.05;
cv::resize(orig, image, Size(), ratio, ratio);
c.setImage(image); // change the image during waitKeyEx(0)
rightSideButton->setLocation(Point(image.cols - 20, 0)); // keep aligned to top right without a layout manager
}
);
int key = 0;
Mat out;
do
{
c.redrawOn(image, out); // draw the canvas on the image copy
c.imshow(out);
key = c.waitKeyEx(); // GUI and callbacks happen here
} while (key != 'q');
destroyAllWindows();
return 0;
}

Notes:

  • We only need a variable to widgets we want to acces by code, so only the rightSideButton has a variable, since we're manually aligning it to the right on resizing.
  • For a single image display, the best practice is to use canvascv::Canvas::waitKeyEx() (default delay is 0).
    • Since during a zero delay, the Canvas is self updating, it needs to know that the image has changed, and this is what canvascv::Canvas::setImage() is for.
  • We're using enableStatusMsg since we want the mouse hover over the buttons to show our status message for it.
  • This tutorial is using C++11 lambda expressions as callbacks, but anything which has the "void(Widget*)" signature will work here.
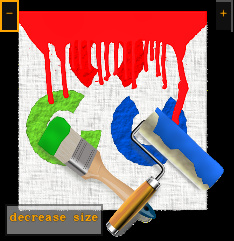
  • Here is an image decreased by this code:
    tut_buttons.jpg

Text alignment with buttons

This will be more relevant on the layout managers tutorial, later on.

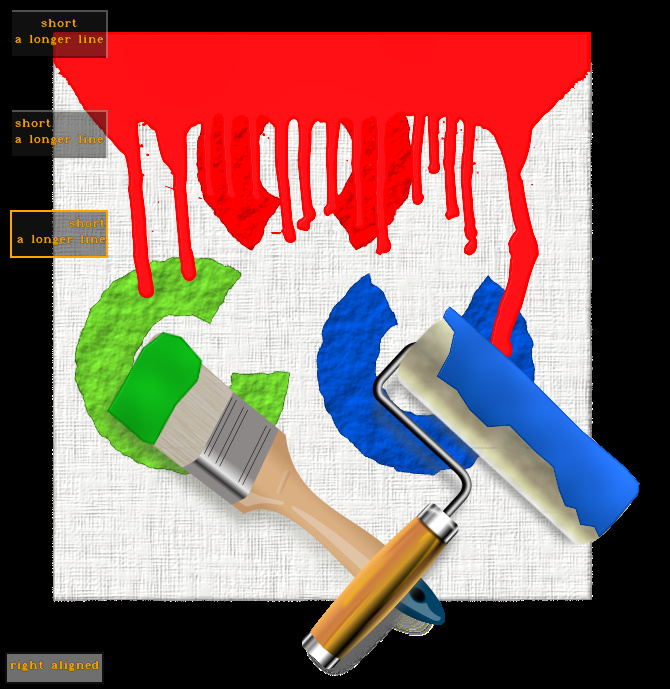
Currently, lets assume we have a button with 2 lines of text, a short line and below it a long line.

We could want the text to be centered, or aligned to left, or aligned to right.

The way to do this is with anchoring to the flow. If you set your anchor at some point, then the text can't move the anchor and flows to the other side. By doing that, it is aligned to the anchored side.

See this code:

#include <canvascv/canvas.h>
#include <canvascv/widgets/button.h>
using namespace cv;
using namespace canvascv;
int main(int argc, char **argv)
{
--argc;
++argv;
if (! argc)
{
Canvas::fatal("Must get a path to an image as a parameter" , -1);
}
Mat image = imread(argv[0]);
if (image.empty())
{
Canvas::fatal(string("Cannot load image ") + argv[0], -2);
}
namedWindow("ButTextAlign", WINDOW_AUTOSIZE); // disable mouse resize
Canvas c("ButTextAlign", image.size());
c.enableStatusMsg(); // shows hover over button msgs
c.setMouseCallback();
string buttonText = "short\n"
"a longer line";
auto b1 = Button::create(c, // on the canvas
Point(10,10), // top-right aligned on the screen
buttonText, // displayed on button
"centered"); // displayed during mouse hover
b1->setFlowAnchor(Widget::CENTER);
auto b2 = Button::create(c, // on the canvas
Point(10,110), // top-right aligned on the screen
buttonText, // displayed on button
"left aligned"); // displayed during mouse hover
b2->setFlowAnchor(Widget::LEFT);
auto b3 = Button::create(c, // on the canvas
Point(10,210), // top-right aligned on the screen
buttonText, // displayed on button
"right aligned");// displayed during mouse hover
b3->setFlowAnchor(Widget::RIGHT);
int key = 0;
Mat out;
do
{
c.redrawOn(image, out); // draw the canvas on the image copy
c.imshow(out);
key = c.waitKeyEx(); // GUI and callbacks happen here
} while (key != 'q');
destroyAllWindows();
return 0;
}

Notes:

That's all for this tutorial